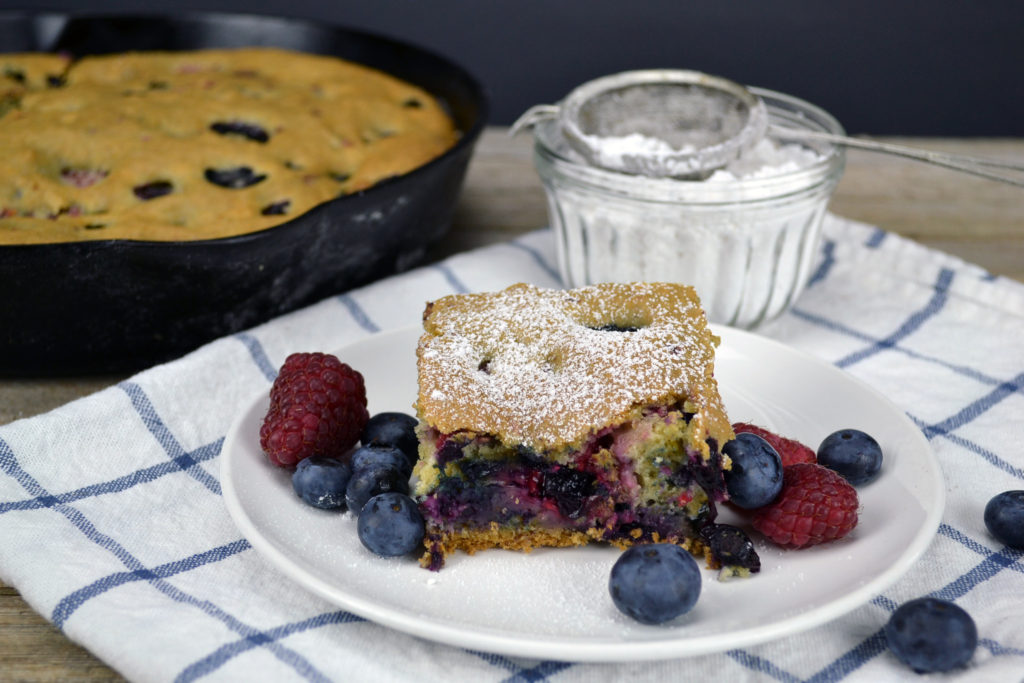
A simple but delicious vanilla cake with a touch of orange, this moist and tender treat contains an abundance of fresh berries. Bake it up in a cast iron skillet and dust lightly with icing sugar, if desired. Perfect for the cabin or to take on a road trip!

| Prep Time | 15 minutes |
| Cook Time | 35-45 minutes |
| Servings |
skillet cake
|
- 1/3 cup vegan butter
- 1/2 cup sugar
- 2 flax "eggs" Combine two Tablespoons of ground flaxseed with 6 Tablespoons of warm water and let sit for a few minutes.
- 2 teaspoons vanilla
- finely grated rind and juice of one orange
- 1 cup unsweetened plant milk
- 2 cups all purpose flour
- 2 teaspoons baking powder
- 1 teaspoon baking soda
- 1/4 teaspoon salt
- 2 cups fresh raspberries or blackberries
- 2 cups fresh blueberries or any berries, really!
- 2 cans canned coconut milk You need the regular one, (20% fat))not the light version.
- 2 Tablespoons icing sugar
- 1 teaspoon vanilla
- 1/4 teaspoon almond flavouring
Ingredients
Skillet Cake
Coconut Whipped Cream
|

|
- Heat oven to 325 degrees F. and prepare your skillet by greasing and flouring lightly. You can, of course, use a regular 9 x 13 inch pan, which should also be greased and floured.
- Make your two flax "eggs" and let sit for a few moments.
- In a large mixing bowl, beat the butter and sugar together until fluffy.
- Add the vanilla, orange juice and orange juice along with the flax eggs and beat again.
- In a separate bowl, sift the flour, baking powder, baking soda, and salt.
- Gradually add the milk and the dry ingredients to the mixing bowl to combine into a thick batter. Be careful not to overmix.
- Fold in the fresh berries, trying not to crush the berries.
- Spoon batter into the prepared skillet and cook for about 35-45 minutes. It is important to let it cook thoroughly, so let it get quite brown.
- This is great warm and doesn't need icing at all. A little sprinkle of icing sugar makes it pretty to serve at a party. Also great served with coconut whipped cream! Enjoy!
- Chill two cans of coconut milk in the fridge overnight.
- Chill a large glass or metal mixing bowl.
- Carefully open the cans so that the chilled white part of the contents on the top can be scooped into the chilled bowl. Save the clearer liquid part for using in a coconut rice or a Thai curry.
- Whip the creamy parts until it thickens. This will take a few minutes and the stiffness will vary according to brand of coconut milk you have.
- When it is thickened, add the icing sugar and the flavourings and continue whipping. This will keep in the fridge for a few days but it is best when fresh!
The coconut whipped cream makes a tasty addition! Pick some local blackberries and blueberries and enjoy the flavours of the season! I made this for a special summer visit from some wonderful friends who were visiting from Rwanda. Lawsen Henderson Yewell was an enthusiastic eater and enjoyed time with his namesake, Uncle Bill! Looking forward to more recipe sharing around the world!!


