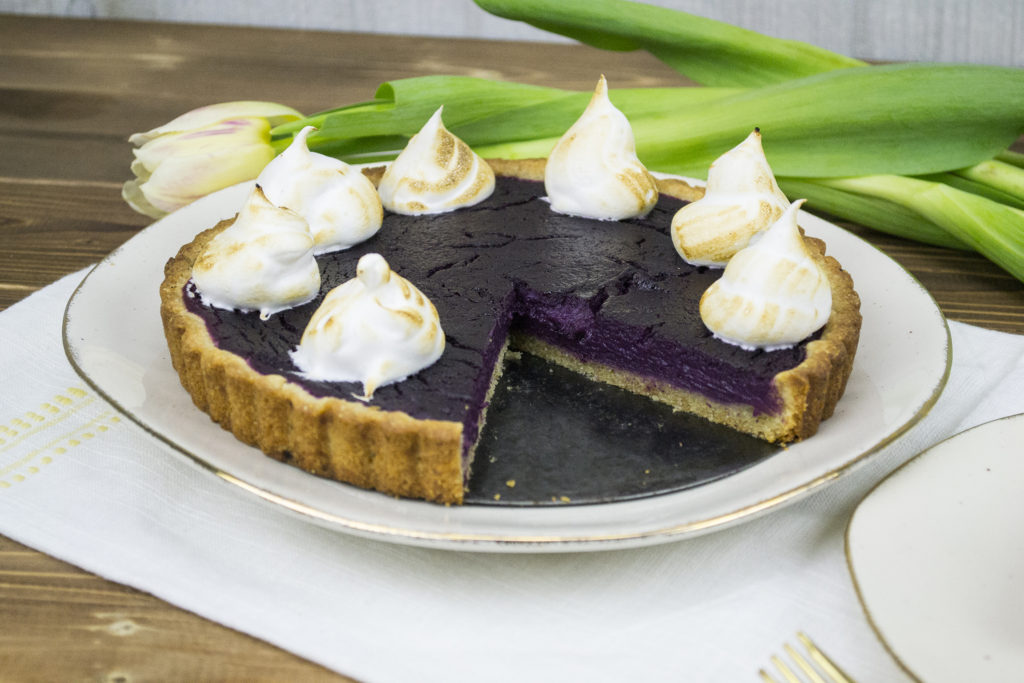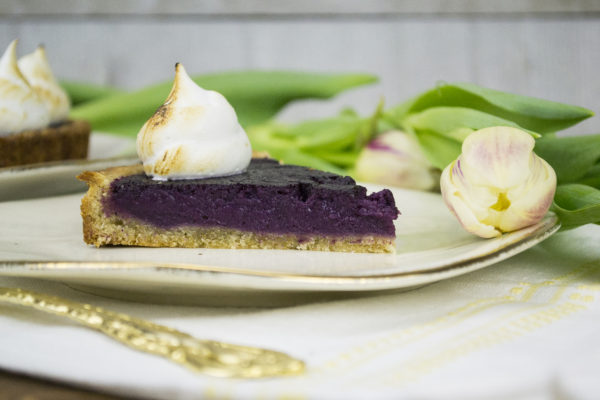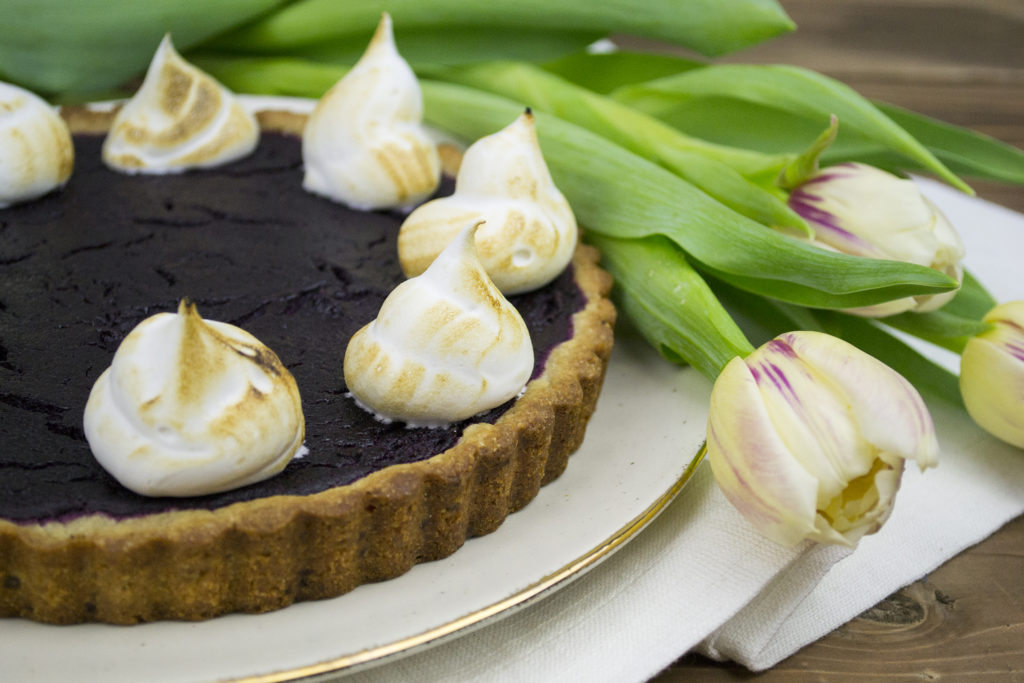
This deeply purple pie, topped with some Toasted Marshmallow Fluff, is a quick, easy and dairy-free dessert to make and is so much fun to serve! Try this gluten-free pie crust recipe for a tasty alternative.

| Prep Time | 15 minutes |
| Cook Time | 40-50 minutes for a large pie, less for the shallow version |
| Servings |
large pie or two shallow
|
- 1 regular uncooked pie crust or two shallow pie crusts. These pictures show the shallow version with a gluten-free crust.
- 1 1/2 cups cooked, mashed purple sweet potato
- 1 1/2 cups plant milk
- 2 Tablespoons vegan butter melted
- 1/2 cup brown sugar
- 4 Tablespoons corn starch
- 1 teaspoon vanilla
- 3/4 teaspoon cinnamon
- 1/2 teaspoon freshly grated ginger
- 1/4 teaspoon allspice
- 1/4 teaspoon cloves
- 1/4 teaspoon nutmeg
- 1/4 teaspoon salt
- 1/2 cup almond flour
- 1/4 cup coconut flour
- 1/4 cup all purpose gluten free flour
- 1/4 cup icing sugar
- 1 teaspoon xanthan gum This helps gluten-free flours hold together.
- 1/4 teaspoon salt
- 5 Tablespoons cold vegan butter
- 1 flax egg Combine 1 Tablespoon of ground flax seed with 3 Tablespoons of warm water and allow to sit for a few minutes to "gel".
- 1/2 teaspoon vanilla
- 2 teaspoons ice water
Ingredients
Filling for one deep or two shallow pies.
Gluten-free Crust
|

|
- Heat the oven to 375 degrees F.
- I like to parbake the crust to ensure it is gets cooked well. Just put a piece of parchment paper over the uncooked crust and weight it down with some dried beans. Bake for about 10 minutes. Remove from oven and take out the paper and beans.
- In a food processor, combine the mashed purple sweet potato with the plant milk. Pulse until the mixture is smooth. Add the melted butter and pulse again.
- Combine the brown sugar and cornstarch. Add this, the vanilla, and the spices to the processor and pulse until well combined.
- Pour this purple mixture into the crust. Protect the edges of your pastry from burning by creating a tin foil collar around the outside.
- For a full-sized pie, bake for about 40-50 minutes, until the filling looks set. It will continue to firm up as it cools. Remove the tin foil collar for the last 10-15 minutes to allow some browning, if needed.
- If you are baking this in two shallow pans, as I did for these pictures, this will take a shorter time to cook. When the center appears set, it can be removed to cool. This needs to cool before cutting. It will keep well and can easily be made a day ahead. Put the topping on the day you plan to serve it.
- Let cool before decorating with the Marshmallow Fluff. After you have made the Fluff, spoon some gently into a large ziplock bag with a bottom corner sniped off, creating a pastry bag. Apply Fluff as desired. Lightly toast under a broiler for a few minutes, watching closely so it doesn't burn. Alternatively, use a pastry torch to add the golden brown toasty colour.
- The pie keeps well but the Marshmallow Fluff is best when fresh.
- Combine all the dry ingredients in a bowl.
- Cut in the cold butter until mixture is crumbly.
- In a separate bowl, whisk together the "egg", vanilla and water.
- Sprinkle the liquid over the dry mixture and stir just until combined. Add a little more gluten-free flour, if too sticky. This will not feel like regular pastry. It is softer and wetter. Using a shallow pan, preferably with a removable bottom, press it carefully into the pan, creating a thin, even base. Put in fridge to chill for 30 minutes.
- Parbake this crust for about 10 minutes at 375 degrees. Pour in the filling and bake until done. (To prevent the crust from burning around the edges, create a tin foil collar. Use this for the first 15 minutes and then remove so that the crust will get to be a perfect brown.)
This Toasted Marshmallow Fluff is optional, of course, but very tasty and attractive. If you like the flavour of coconut, try making an easy coconut whipped cream.

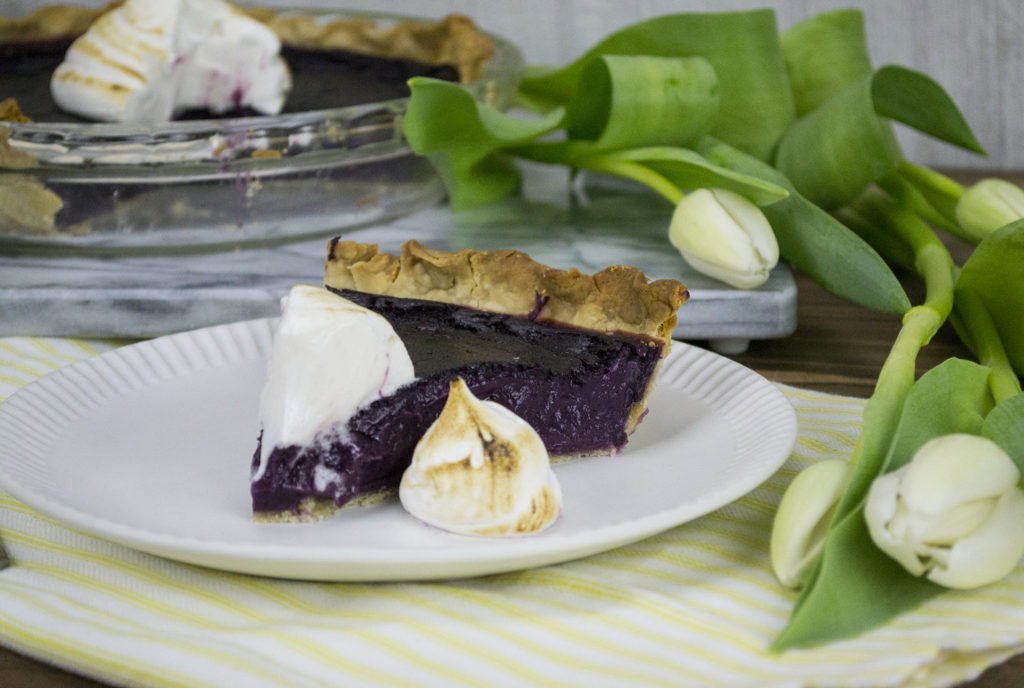
This is the version made with a regular pie crust and a deeper pie pan.


