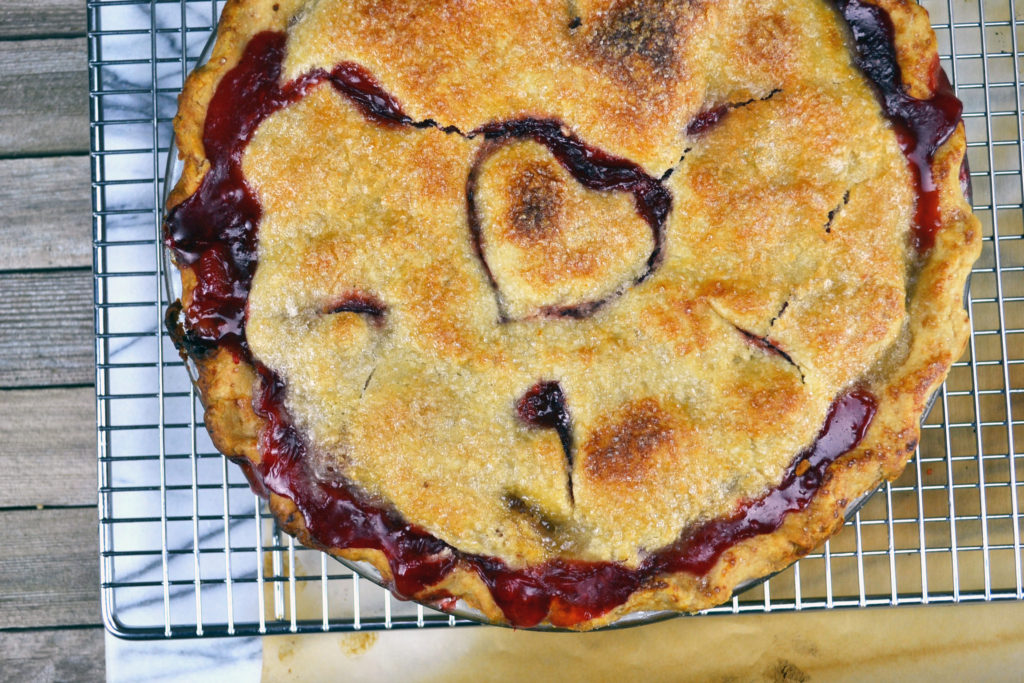
This took more trials than normal to get something I am proud to share. I wanted a bottom crust that wasn’t soggy, a top that was crisp and sugared, and a filling that was set but not too gelled. It also needed to be full of fresh fruit and not too sweet. After a few tries, this one is just right!

| Prep Time | 20 minutes |
| Cook Time | 35-40 minutes |
| Servings |
pie
|
- 1 1/2 cups flour
- 1/2 cup vegan butter I used Earth Balance.
- 1/4 cup ice cold water
- 1/4 teaspoon salt
- 1 teaspoon sugar
- 4 cups chopped fresh rhubarb
- 4 cups sliced strawberries
- 3/4 cup sugar
- 5 Tablespoons tapioca I used Minute Tapioca and it worked well! It thickens and leaves a clearer sauce than flour or cornstarch.
- dash of salt
Ingredients
Filling
|

|
- Using a food processor to make the pastry is a great time saver and creates a lovely flakey pastry, as it stays colder than when you use your hands. Just put all your ingredients and pulse until it is crumbly. Check to make sure that it is a good texture and then make a ball, wrap it, and let it chill for 30 minutes. This makes it easier to work with.
- While the dough is chillin' , slice your rhubarb and strawberries into a bowl.
- Mix your tapioca, sugar, and salt together and then add this to your fruit. Stir together and let sit for 30 minutes or so to start the gelling process.
- Heat your oven to 420 degrees F.
- Once your dough is chilled, roll out a thin round circle of pastry larger than the size of your pie pan. Here is the best suggestion for a great strawberry rhubarb pie: choose a shallow glass pie pan! Less filling to soften the bottom shell and the glass allows for browning!
- Press your bottom crust gently into the pie pan, leaving some extra dough along the edges.
- Brush the bottom with a little aquafaba to seal it.
- Put your fruit mixture into the shell, about 3/4 full. I tried to make it fuller and there was too much overflow.
- Roll out your remaining pastry and make a top crust, pinching the edges together to make sure it is sealed.
- Make some slices through the top shell to allow steam to escape as it is cooking.
- Make a ring of tin foil to protect the edges of the crust from burning.
- Brush the top crust with a little plant milk and sprinkle with some coarse sugar.
- Bake at 420 degrees F for 15 minutes and then turn down the heat and cook at 350 degrees for another 30 minutes, or until the crust is well-browned.
- Wait until the pie has cooled before slicing. This will allow the filling to set and makes it easier to serve. Serve with a little coconut whipped cream or a little vegan ice cream. Enjoy!
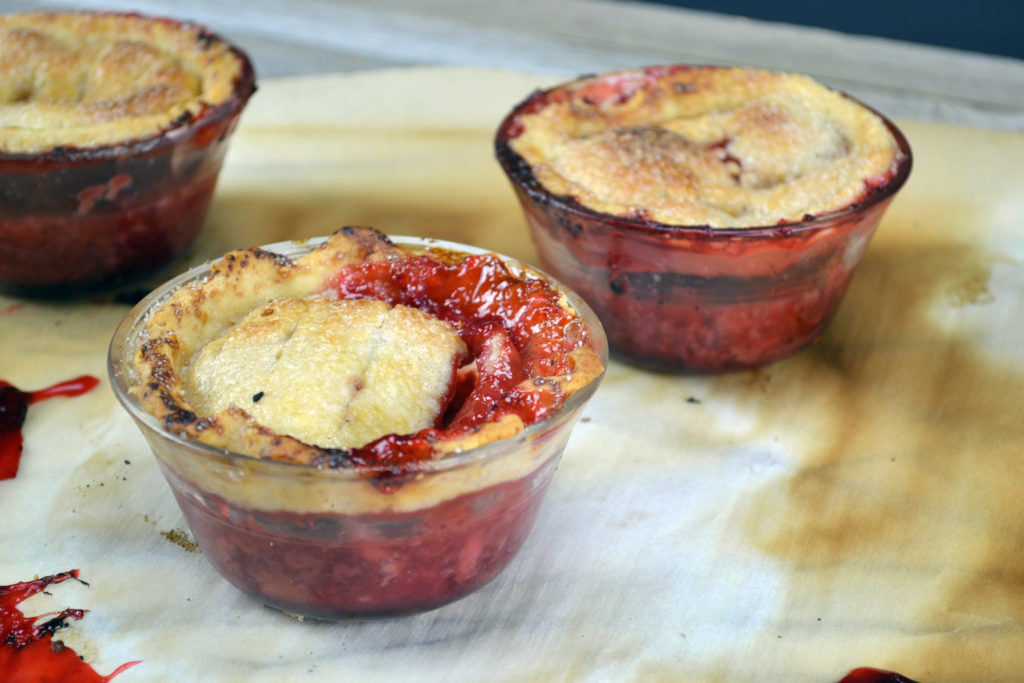
I also tried making some individual mini pies without a bottom crust and they were very tasty! You can eat these warm!


